Testing in Virtual Reality (VR) is already quite challenging because VR in the mainstream is still new.
I have tested VR applications for the last two years on a number of devices. I can undoubtedly say that taking a screenshot of your issue is 10 times more effective in relaying your issue to developers than writing reproduction steps. It’s just like that old saying, “a picture is worth a 1000 words”.
Before knowing how to take screenshots within VR on devices like the HTC Vive or Oculus Rift, (or when a particular version of SteamVR just makes this function obsolete) this task wasn’t easy. I had to resort to positioning myself close enough to the machine running the application so I could press the print screen button on your keyboard. But, I also had to be in a good position and direction in VR to accurately capture the problem I was highlighting. Let me tell you, there was a lot of awkward stretching or using random office objects as props involved.
Then, another QA discovered the ability to take screenshots in VR from within the device! My life changed (no, I don’t think this is too bold a statement).
Now, while testing applications on the Vive, we were always pressing weird combinations of buttons to find bugs so that the developers could fix these issues. So, when she told me I had to hold down some buttons, I couldn’t understand why this never worked before. Then, she mentioned a key bit of information, Steam had to be open.
Since learning this, I’ve discovered ways to take screenshots in VR across all the devices I test on. And, I’d like to share this knowledge, if only to make your day-to-day testing activities in VR easier.
Devices Covered
This guide is applicable to the following devices:
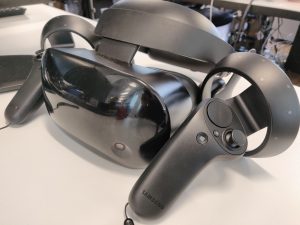
- Samsung Odyssey
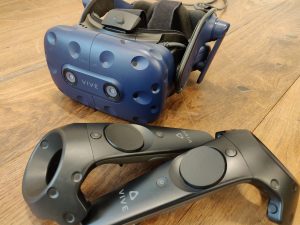
- HTC Vive and Vice Pro
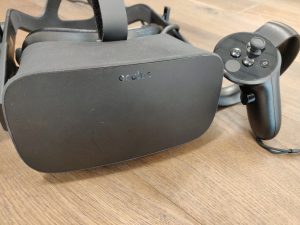
- Oculus Rift
You will require the following also be to set up:
- Steam VR version 1.2.10
- Running Steam client
- Windows Mixed Reality client
Taking Screenshots on a HTC Vive or Vive Pro

Taking a Screenshot
- Open the Steam Client
- Go into a VR session
- Pull the trigger on any controller
- Press the System button
Getting the screenshot
- In Windows Explorer, go to C:\Program Files (x86)\Steam\userdata\XXXXXX\YYY\remote\ZZZZZZ\screenshots
Taking Screenshots on an Oculus Rift

Taking a Screenshot
- Open the Steam Client
- Go into a VR session
- Pull the trigger on the left controller
- Press the Oculus button
Getting the screenshot
- In Windows Explorer, go to C:\Program Files (x86)\Steam\userdata\XXXXXX\YYY\remote\ZZZZZZ\screenshots
Note: Unfortunately, the location of the screenshots are a bit fiddly when using the Vive and Oculus. The screenshots seem to go to directories with random numbers assigned to them. So you’ll have to do a little trial and error to get to the correct one. I recommend once you find the correct folder, that you pin the location to File Explorer on the Taskbar.
Taking Screenshots on a Samsung Odyssey

Taking a Screenshot
- Open the Steam Client
- Go into a VR session
- Press the Home button
- Pull the trigger to select the camera icon
- Pull the trigger to take a screenshot (press the Home button again to close the Screenshots mode)
Getting the screenshot
- In Windows Explorer, go to C:\Users\<username>\Pictures\Camera Roll (so much easier!)
Make Your Life Easier And Take A Screenshot
The ability to take screenshots easily when testing on any platform is essential. Testing in VR is already quite challenging because it’s so new. Being able to take screenshots, knowing how to perform the action, and being able to collect your images from the device are some of the most useful things you could have when testing in VR.


